Last updated: October 2026
This page contains affiliate links. If you buy through them, we may earn a commission at no extra cost to you. As an Amazon Associate I earn from qualifying purchases.
A deep kitchen cabinet is not deep storage. It is a black hole with a doorway. Whatever you use weekly lives in the front foot; everything else migrates to the back and dies there. Learning how to organize deep kitchen cabinets without drilling is mostly about pull-forward systems: things that come to you instead of making you crawl in.
Skip the screw-in pull-out drawers and “magic corner” kits. In a rental you want freestanding sliding baskets, rectangular turntables, bins with handles and shelf risers that create a visible front row. Zone the cabinet front to back, and nothing important lives past arm’s reach without a handle on it.
Quick answer / top pick: Front zone: a freestanding sliding basket or rectangular turntable for weekly items. Back zone: long bins with front handles for monthly stuff. Optional riser on one side for cans you still want to see. Nothing screwed or taped down.
Constraints we optimize for: door opening vs frame width · face-frame lip · pull-forward only · handles on deep items · freestanding · no adhesive on laminate edges
Related: shelf risers for small kitchen cabinets · rectangular turntables for deep cabinets · freestanding sliding basket organizers.
Layout by cabinet type
| Cabinet | Front zone | Back zone |
|---|---|---|
| Deep base, single door | 2-tier freestanding sliding basket | Handled bins beside or behind |
| Deep pantry shelf | Rectangular turntable or riser + front cans | Clear bins with handles |
| Blind corner (reachable half) | Turntable or basket in the opening only | Long bins into the blind run |
| Under the sink | Single-tier basket beside the trap | Bins that clear the pipes |
| Mixed pots and food | Pots on a tray with felt glides | Food in handled bins |
Front, middle, back: measure the zones
- Opening width at the hinges: max width for any sliding frame. Leave about 1 inch.
- Usable depth to the back wall or pipes. Bin length and frame depth both come from this.
- Face-frame lip height vs basket bottom on the listing. A lip stops a slide-out cold.
- Shelf gap if you add a riser: tallest front-row item under it plus finger room.
Front / middle / back zones
Front (0–10 in): daily and weekly items on a turntable, riser front row or the front of a sliding basket. You should see labels without kneeling.
Middle: overflow of the same category in a bin you can still hook with two fingers.
Back: monthly and seasonal only, always in a bin or on a tray with a handle or lip you can pull. Bare items at the back is how you buy a second bottle of soy sauce.
What not to buy for a rental deep cabinet
Screw-in pull-out drawers, Rev-A-Shelf style units and adhesive runners that glue to the cabinet floor are out unless you have written permission. Adhesive on laminate edges also fails and leaves a mark. Stick to freestanding frames, turntables and bins. For the sliding-basket fit details, see the freestanding sliding basket guide; for turntables, the rectangular turntable guide.
Pair from the RenterReset shop
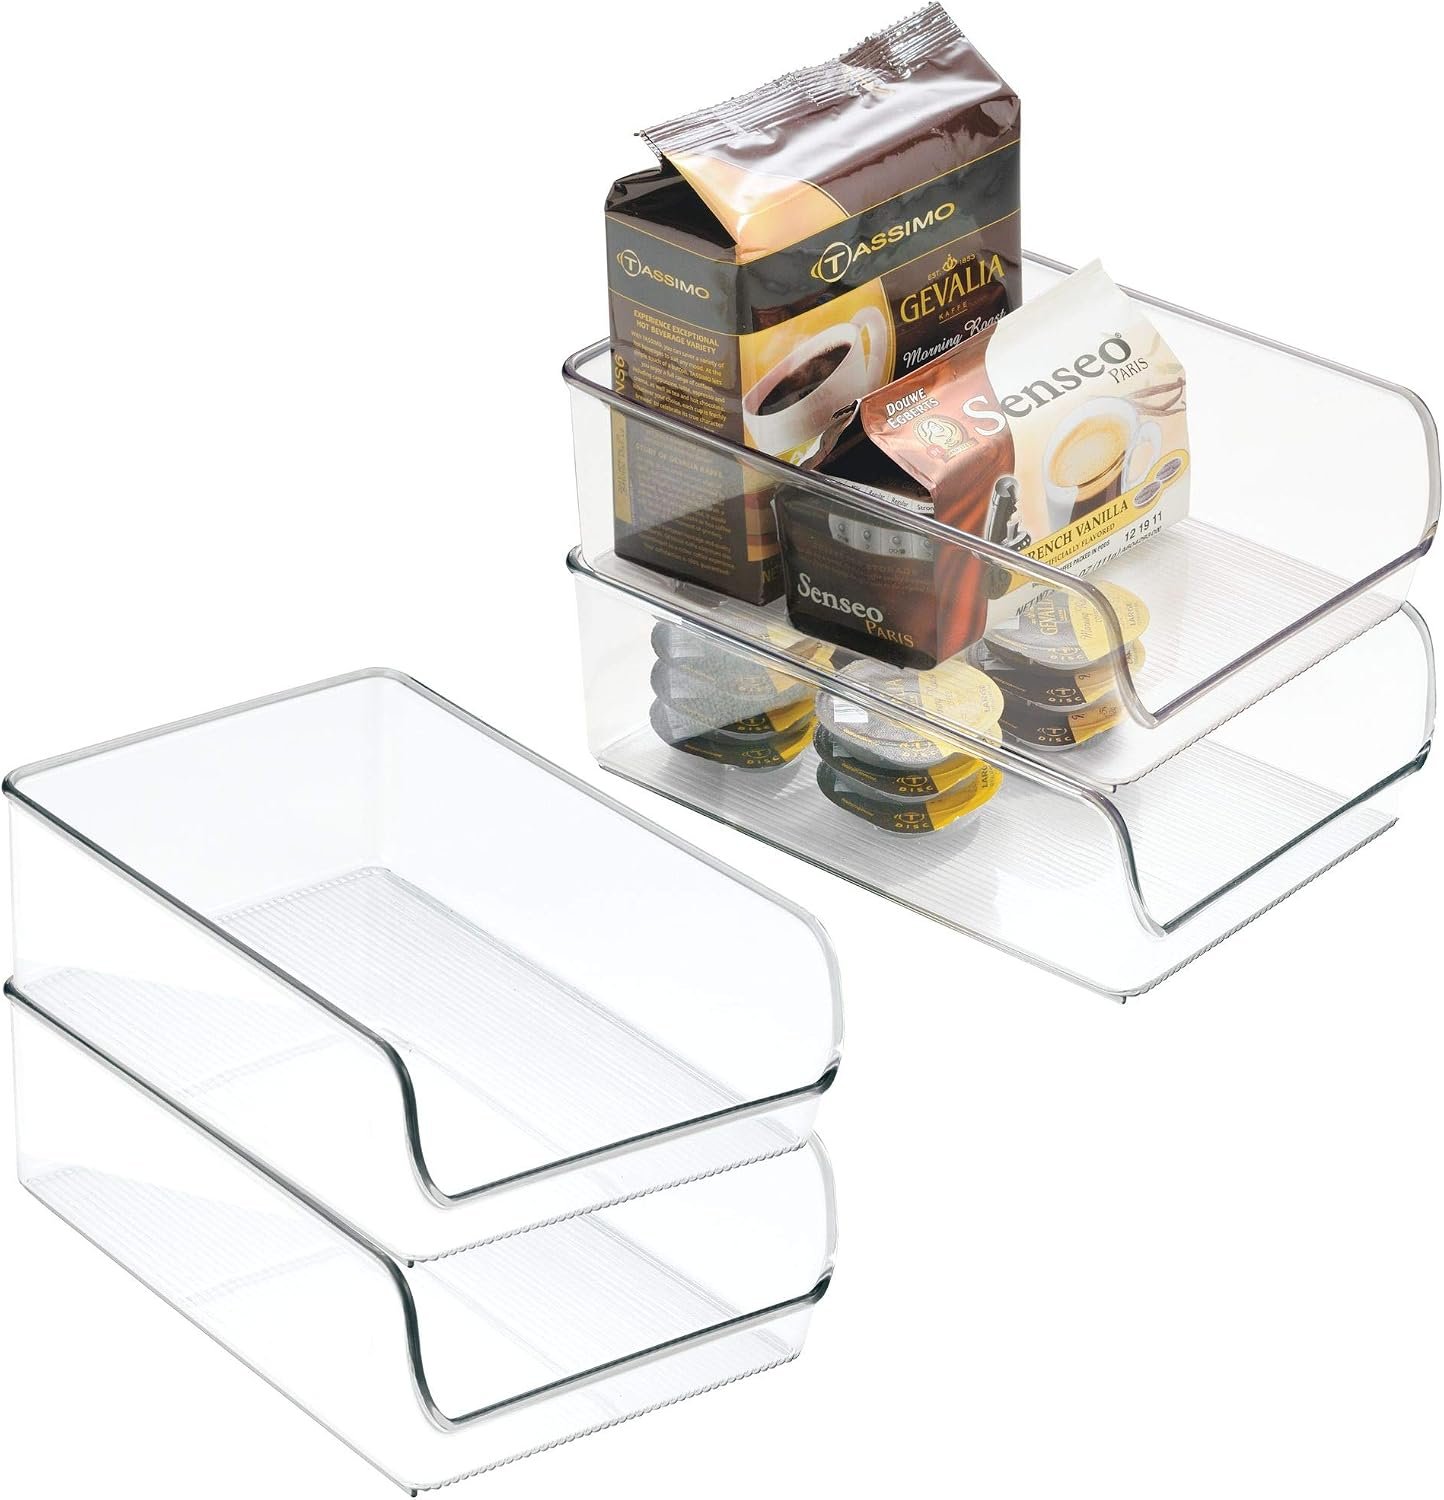
Stackable clear pantry bins (4-pack)
iDesign Linus bins corral snacks in deep cabinets so nothing gets lost in back.
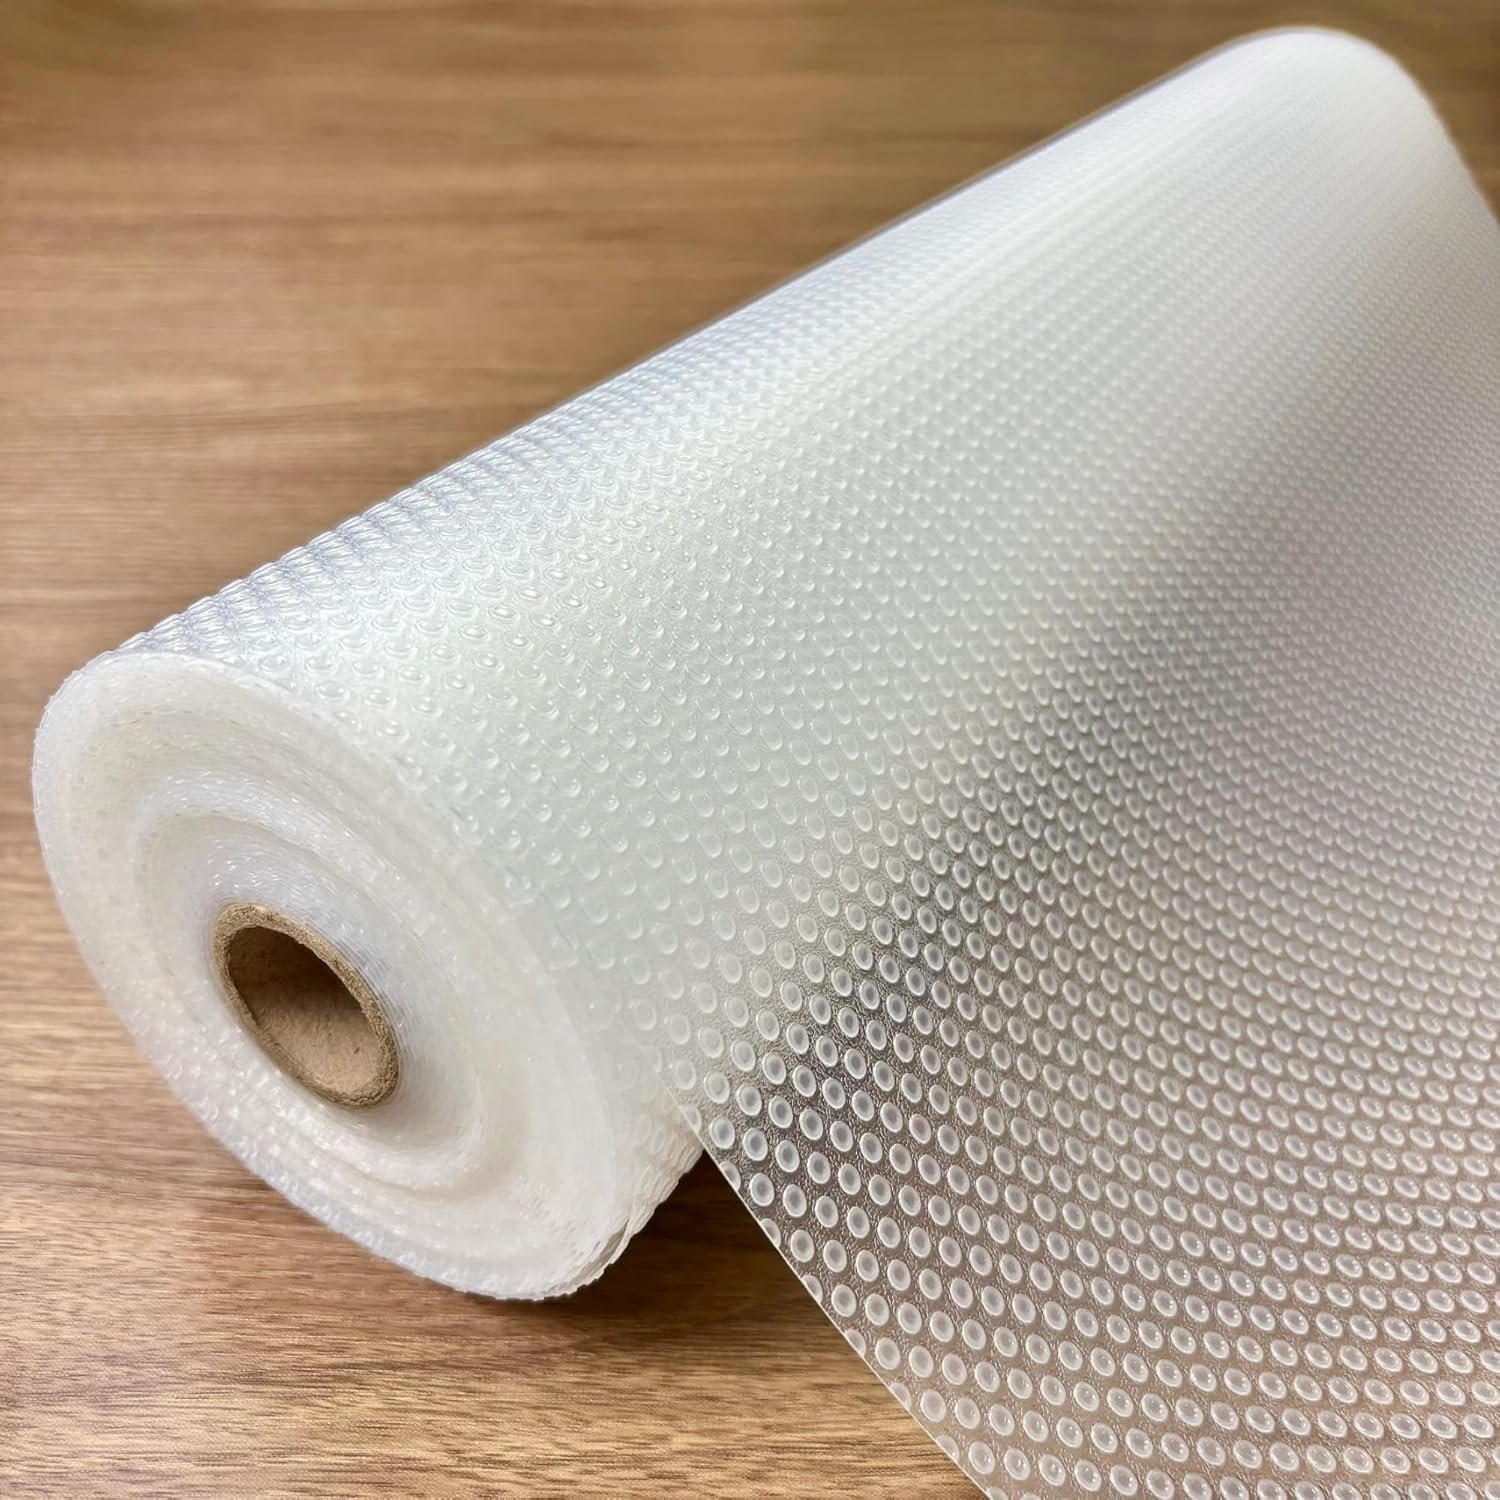
Non-slip shelf liner roll
Cushion plates and stop sliding pans—cut to fit, peel out at move-out.
Deep-cabinet rules that stick
- Pull-forward, not reach-in. Handles or slides on anything past the front zone.
- Frame width = opening at hinges minus about 1 inch.
- Check face-frame lip before ordering a slider.
- Liner under frames and turntables so they do not walk forward.
- No screws, no adhesive runners, no magic-corner hardware.
- Label bin ends that face the door.
Deep-cabinet tools (no drill)
1) Freestanding sliding basket frames
Who it’s for: Deep base cabinets you open every day.
Price band: roughly $25-50
Pros: Turns depth into drawers; zero install. Cons: Needs opening width and lip clearance.
Fit notes: Confirm the listing says freestanding; measure opening at the hinges.
Shop: two-basket sliding cabinet organizer · freestanding sliding basket organizer
2) Rectangular turntables for deep shelves
Who it’s for: Pantry shelves and wide openings with cans and jars.
Price band: roughly $15-35
Pros: Uses corners a round turntable wastes; spins the back to the front. Cons: Needs a clear circle or rectangle to spin.
Fit notes: Cardboard-template the footprint before you buy.
Shop: rectangular lazy susan turntable · rectangular turntable for cabinets
3) Handled bins for the back zone
Who it’s for: Anything that lives past arm’s reach.
Price band: roughly $15-30
Pros: Hook and pull; clear sides show what is inside. Cons: Bin height must clear the shelf gap when tipped up.
Fit notes: Depth ≤ usable depth; front handle facing the door.
Shop: clear pantry bins · clear bins with handles deep cabinet
4) Risers and liner to finish the front
Who it’s for: Cans you still want visible in the front zone.
Price band: roughly $10-30
Pros: Riser makes a front row readable; liner stops skating. Cons: Riser uses footprint the slider might need.
Fit notes: Use a riser beside a slider, not blocking its pull path.
Shop: stackable wire shelf risers · non slip shelf liner
FAQ
How do I organize a deep kitchen cabinet without drilling? Zone it front to back: freestanding slider or turntable in front, handled bins in back, optional riser for visible cans. No screws or adhesive runners.
Are pull-out drawers okay in a rental? Screw-in and most adhesive ones are not. Freestanding sliding basket frames that sit on the floor are the renter version.
What size bin works in a deep cabinet? Length ≤ usable depth, height under the shelf gap with room to tip the bin up as you pull, handle facing the door.
Next in this cluster
- shelf risers for small kitchen cabinets (cluster guide)
- how to measure kitchen cabinets for organizers (previous guide)
- organize upper kitchen cabinets in a rental (next guide)
- rectangular turntables for deep cabinets
- Shop pantry picks
Bottom line
Measure the opening and usable depth, then put a slider or rectangular turntable in front and handled bins in back. Details: freestanding sliding baskets, rectangular turntables, and the shelf risers cluster guide. Next: organize upper kitchen cabinets in a rental.