
Last updated: October 2026
This page contains affiliate links. If you buy through them, we may earn a commission at no extra cost to you. As an Amazon Associate I earn from qualifying purchases.
My first rental kitchen had one cabinet with a single shelf and about 14 inches of empty air above it. Plates on the bottom, nothing on top, and a stack of bowls that leaned every time I closed the door. The obvious fix is shelf pins or a cleat screwed into the side panels. In a rental, that is holes in somebody else’s cabinet and a conversation at move-out.
You can add a shelf to a kitchen cabinet without drilling, and it takes about ten minutes once you know your three measurements. There are really only three tools for the job: a freestanding shelf insert that stands on its own legs, an expandable shelf that stretches to the width you have, and a pair of tension rods for light stuff. This guide covers which one suits your cabinet, and the sizing mistakes that stop the door closing.
Quick answer / top pick: A freestanding metal shelf insert about 1 inch shallower than your cabinet and at least half an inch narrower than the opening at the hinges. It doubles the shelf for plates, bowls or cans, and it lifts straight out on move-out day.
Constraints we optimize for: interior width at the hinges · usable depth minus door clearance · shelf-to-ceiling height · load (plates vs spices) · freestanding only, nothing screwed or glued
Related: shelf risers for small kitchen cabinets · non-adhesive shelf liners for renters · freestanding pantry cabinets for renters.
Which no-drill shelf fits your cabinet
| Your cabinet | Add this | Why it works |
|---|---|---|
| One shelf, lots of air above | Freestanding shelf insert (8–10 in tall) | Splits the gap into two usable levels with no hardware |
| Odd width, nothing fits | Expandable shelf organizer | Slides out to the width you measured instead of the width the box guessed |
| Light items only (lids, wraps, spices) | Two tension rods across the cabinet | Cheap, invisible, gone in seconds; not for plates |
| Deep base cabinet | Insert in front, bins with handles behind it | Keeps the back reachable instead of building a second dark shelf |
| Shallow 12-in upper | Short insert or a riser | A tall insert there just makes a second hard-to-reach shelf |
Three measurements before you add a shelf
- Width at the hinges, not the box. Open the door fully and measure between the hinge plate and the opposite wall. That is your real limit, and it is often an inch or more less than the cabinet box.
- Usable depth: front edge of the shelf to the back wall, then subtract about 1 inch so the door closes and nothing rubs the hinge cups.
- Height: shelf to the underside of the cabinet top (or the next shelf). For two levels of plates, you want roughly two plate heights plus an inch of finger room.
- Load: dinner plates are the heavy case. If an insert lists a weight rating, stay under it; if it does not list one, treat it as a cups-and-bowls shelf.
- Door style: face-frame cabinets have a lip around the opening. The insert has to tilt through that lip, so check the diagonal too.
Cabinet with only one shelf? Three layouts that work
Most rental cabinets that came with one shelf were built for tall cereal boxes, which nobody stores there anymore. The fix depends on what lives in that cabinet.
Plates and bowls: one wide insert across the full width, dinner plates under it, bowls on top. The bowls sit at eye height, which is where you want the everyday stuff.
Cans and jars: two short risers side by side instead of one long insert. Cans on top are visible over the front row, and you can pull one riser out to reach the back.
Mixed mugs and glasses: an insert on one side only, tall glasses standing on the open side. A shelf you can see past is easier to live with than two full levels that both need clearing.
Tension rods: when they are enough
A pair of tension rods wedged side to side can carry a cutting board, a row of pot lids on edge, or a few boxes of wrap. They do not carry plates, and they slip on glossy laminate if you overload them. Twist them in, give them a firm tug, and keep the load light. When you move out, they twist back out with nothing left behind, which is the whole point.
Pair from the RenterReset shop
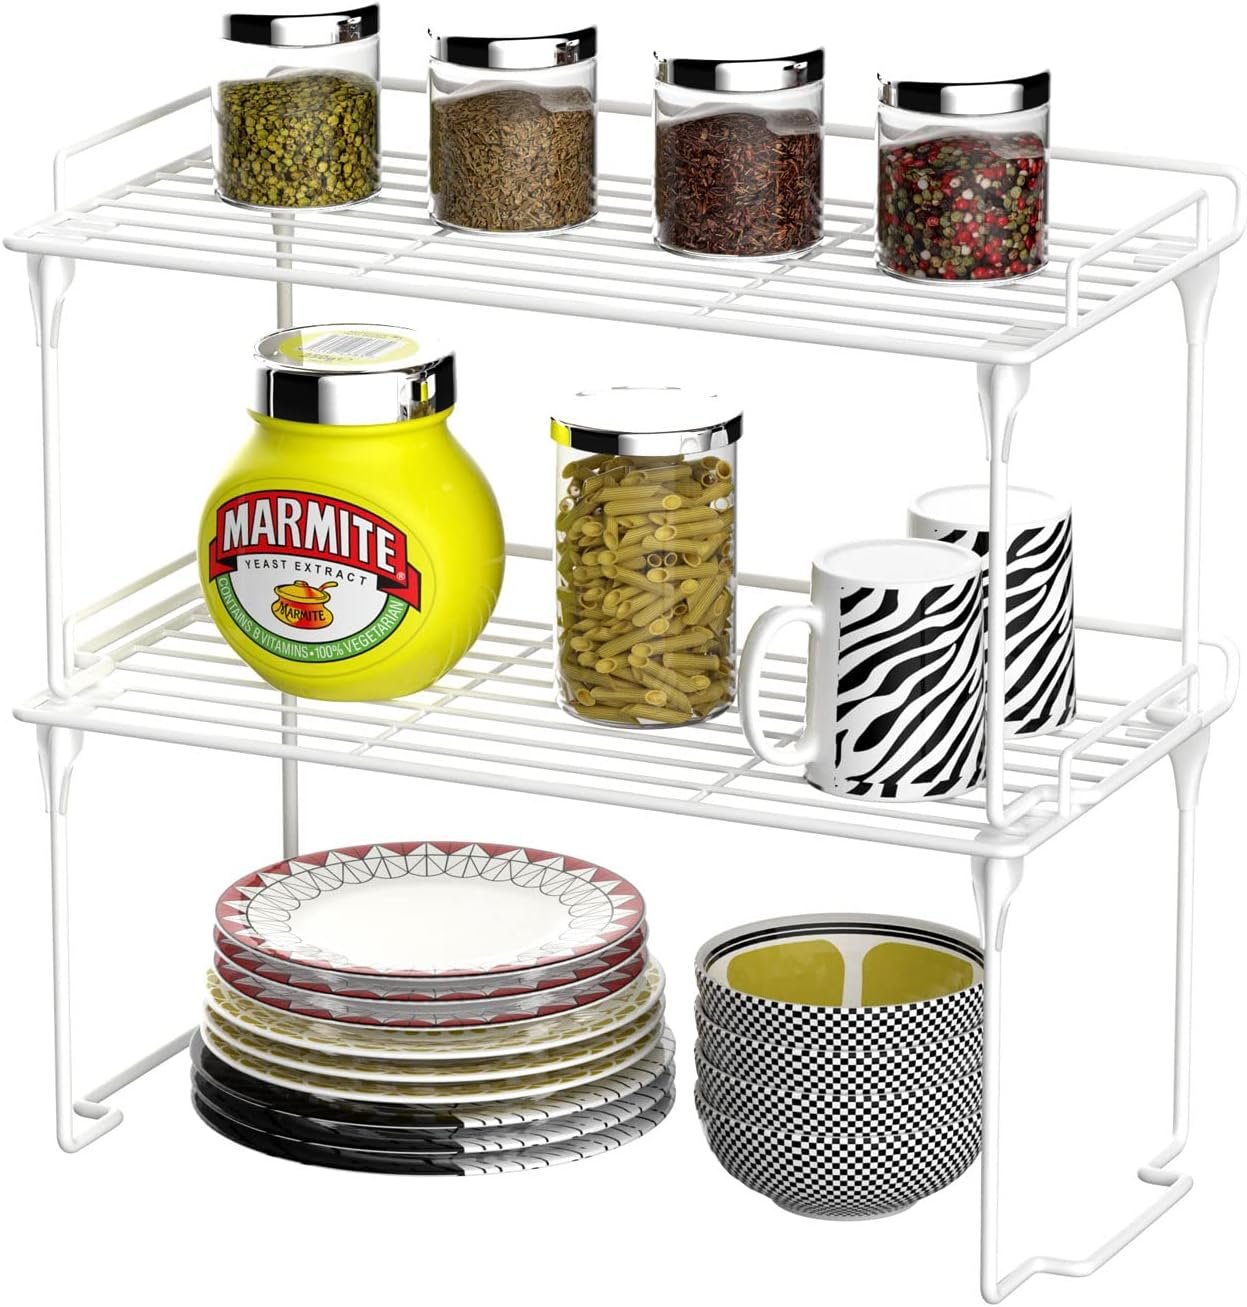
Stackable wire shelf risers (2-pack)
Doubles cabinet height for cans and plates—freestanding, no hardware.
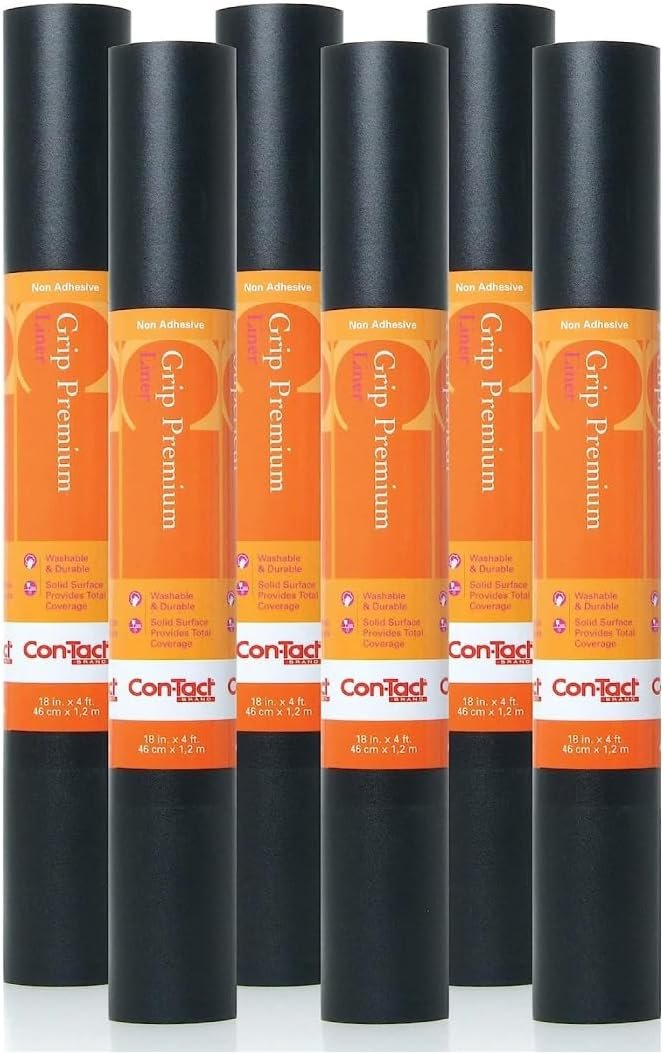
Con-Tact Grip non-adhesive liner
Premium grip liner stays put without sticky residue—landlord-friendly drawers.
Before the insert goes in
- Measure width at the hinges with the door open. That is the only width that counts.
- Insert depth = shelf depth minus 1 inch. Not the other way round.
- Lay a non-adhesive grip liner first so the insert does not skate on the shelf.
- Heaviest items on the cabinet floor, lighter items on the insert.
- Test the door before loading. If it rubs empty, it will not close full.
- No adhesive feet, no screws, no shelf pins. Everything should lift out in one go.
No-drill shelf options, by type
1) Freestanding cabinet shelf inserts
Who it’s for: One-shelf cabinets with plates, bowls or cans.
Price band: roughly $15-30
Pros: Real second level with no hardware; metal versions carry plates. Cons: Fixed sizes; measure twice or it will not tilt through the opening.
Fit notes: Pick the size that leaves half an inch each side at the hinges. Two small inserts side by side often beat one long one.
Shop: freestanding cabinet shelf insert · metal shelf for inside cabinets
2) Expandable shelf organizers
Who it’s for: Odd-width cabinets where fixed inserts never fit.
Price band: roughly $15-35
Pros: Width adjusts to your cabinet; one buy fits the next apartment too. Cons: The join in the middle is the weak point; keep heavy plates near the ends.
Fit notes: Check the listed width range covers your hinge-to-wall number with room to spare at both ends.
Shop: expandable cabinet shelf organizer · adjustable width shelf insert
3) Tension rods for light loads
Who it’s for: Lids, wraps, cutting boards and spray bottles.
Price band: roughly $8-20
Pros: Invisible, cheap, and zero trace on removal. Cons: Light loads only; can slip on glossy laminate.
Fit notes: Buy rods whose minimum length is shorter than your cabinet width, and twist rather than spring them in.
Shop: spring tension rod · cabinet tension rods
4) Liners and bins that finish the job
Who it’s for: Anyone adding an insert to a laminate or wire shelf.
Price band: roughly $10-25
Pros: Grip liner stops sliding; bins make the back half usable. Cons: One more thing to cut to size.
Fit notes: Cut the liner a little short of the edges so it does not curl up at the front.
Shop: non-adhesive grip shelf liner · clear pantry bins for the back row
FAQ
Can I add a shelf to a kitchen cabinet without drilling? Yes. A freestanding shelf insert stands on its own legs, an expandable organizer stretches to fit, and tension rods handle light items. None of them touches the cabinet walls with screws or glue.
How deep should a cabinet shelf insert be? About 1 inch shallower than the shelf, so the door closes and nothing presses on the hinge cups.
Will a shelf insert hold dinner plates? Metal inserts usually do, but go by the weight rating on the listing. If none is listed, keep plates on the cabinet floor and lighter dishes on top.
Next in this cluster
- shelf risers for small kitchen cabinets (cluster guide)
- lazy susan vs shelf riser (previous guide)
- freestanding sliding basket organizers (next guide)
- vertical shelf dividers for cabinets
- Shop pantry picks
Bottom line
Measure width at the hinges, depth minus an inch, and the height you want to split. Then pick an insert, an expandable shelf or tension rods to match. If height is the real problem rather than a missing shelf, the shelf risers for small kitchen cabinets guide covers the shorter options, and the next guide in this set is freestanding sliding basket organizers for deep base cabinets.
1 thought on “How to Add a Shelf to a Kitchen Cabinet Without Drilling”